A Beginner-Friendly Guide to Changing Your Engine Oil
Changing your own engine oil is one of the most common maintenance projects for drivers who want to become more comfortable working on their vehicles. The process is relatively straightforward once you understand the basic steps, but preparation matters. Using the correct oil, filter, tools, and safety equipment can make the job cleaner, easier, and more successful.
Before getting started, it helps to understand how to change oil and review the specific recommendations for your vehicle. The owner’s manual should identify the correct oil viscosity, oil capacity, filter requirements, and recommended maintenance interval. These details can vary significantly between vehicles, even when the engines appear similar.
Regular oil changes are important because engine oil works continuously while the vehicle is running. It lubricates moving components, helps manage heat, carries contaminants toward the oil filter, and creates a protective layer between metal surfaces. As the oil ages, heat and contaminants gradually reduce its effectiveness.
For beginners, the most important part of a DIY oil change is avoiding the temptation to rush. Gathering supplies beforehand, parking the vehicle safely, and understanding where the drain plug and oil filter are located can prevent unnecessary problems once the work begins.
Drivers should also consider whether they have enough room to safely access the underside of the vehicle. Some cars provide adequate clearance without being raised, while others require additional equipment. Safety should always take priority over convenience when working underneath a vehicle.
Essential Supplies for a Successful DIY Oil Change
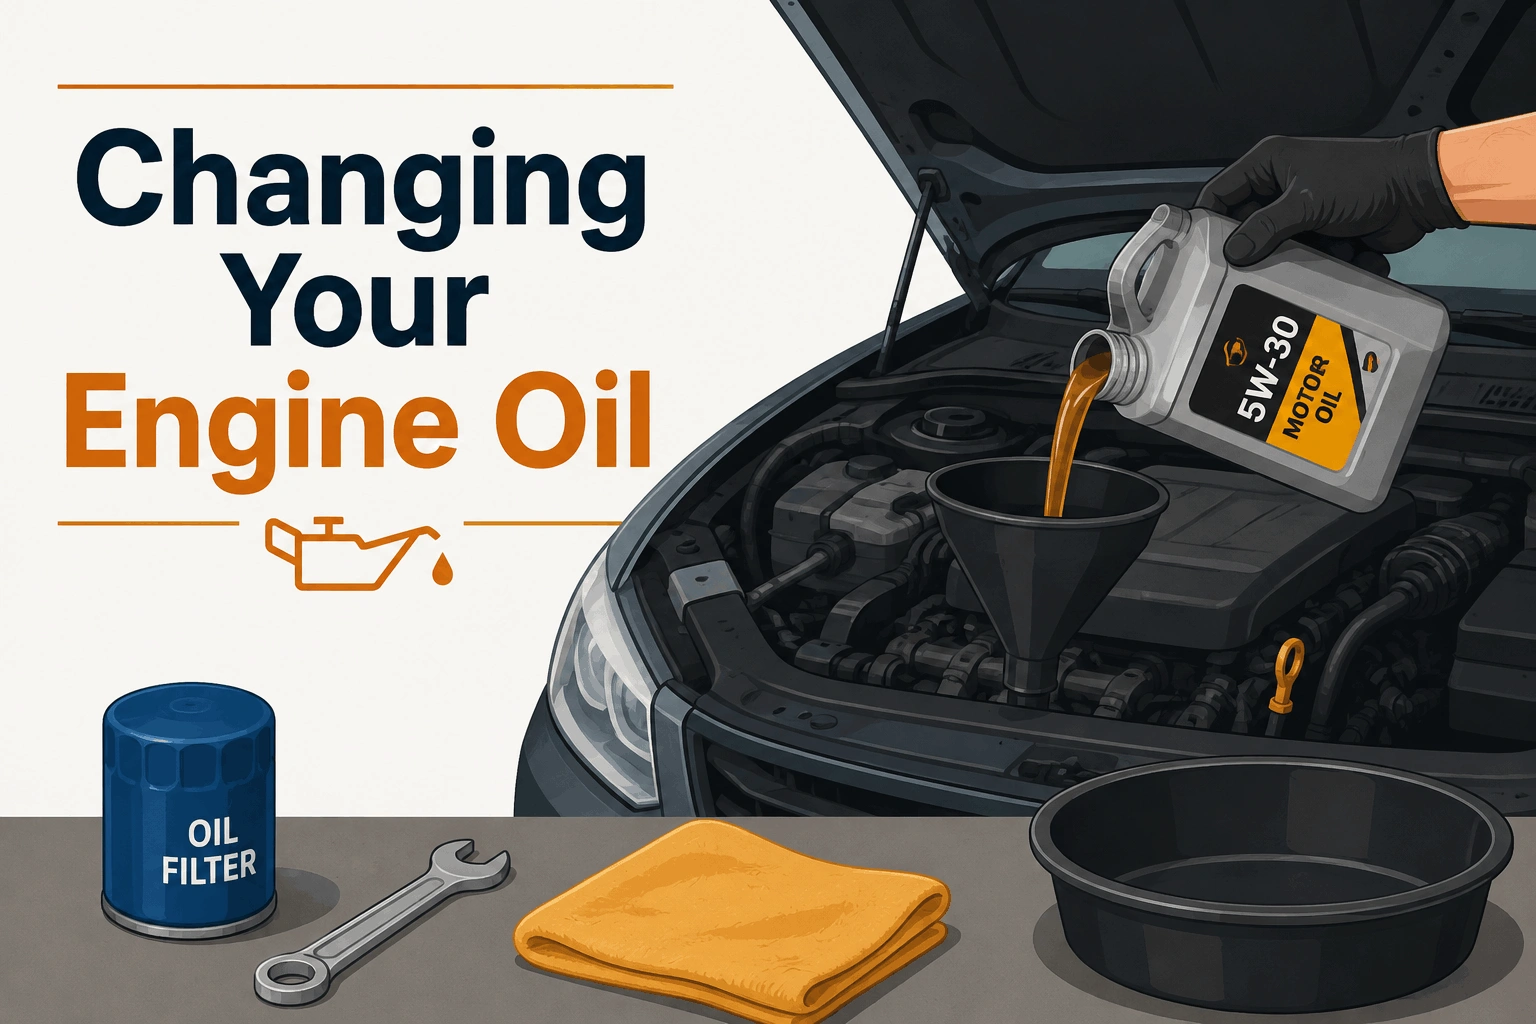
A successful oil change begins with having the correct supplies ready before removing the drain plug. At minimum, drivers generally need the proper type and amount of motor oil, a compatible oil filter, a drain pan, gloves, a funnel, shop towels, and the correct wrench or socket for the drain plug.
Vehicle-specific information is especially important when purchasing oil and filters. The engine may require a particular viscosity, such as 0W-20, 5W-20, 5W-30, or another grade. Some manufacturers also specify particular performance standards that the oil should meet. Rather than assuming that one type of oil works for every vehicle, drivers should verify the manufacturer’s requirements first.
Safe vehicle positioning is another major part of the process. If additional clearance is required, properly rated jack stands can provide support after the vehicle has been raised according to the manufacturer’s recommended lifting procedure. A hydraulic jack should generally be used to lift the vehicle, while approved stands support it during the work. Drivers should never rely solely on a jack while working underneath a raised vehicle.
The vehicle should be parked on a stable, level surface before beginning. Applying the parking brake and using wheel chocks when appropriate can provide additional security. Anyone unfamiliar with safe lifting procedures should review the vehicle manual and equipment instructions before attempting to raise the car.
Once the vehicle is positioned safely, the drain pan can be placed beneath the oil drain plug. The oil may flow quickly when the plug is removed, so the pan should be positioned with enough room to catch the stream. Engine oil can also remain hot after driving, which makes allowing the vehicle to cool before beginning especially important.
After the old oil has drained, the drain plug should be inspected before being reinstalled. The plug, threads, and sealing washer should be in good condition. Tightening specifications can vary by vehicle, so drivers should avoid overtightening the plug because damaged threads can lead to leaks and more complicated repairs.
Removing the old oil filter is another key step. Filters can sometimes become difficult to loosen after thousands of miles of use. Depending on its location and design, having the proper removal tool can make this part of the process much easier.
Before installing the replacement filter, drivers should verify that the old filter gasket came off with the filter. Accidentally leaving the old gasket in place and installing the new filter on top of it can create a poor seal and cause significant oil leakage after the engine starts.
Once the replacement filter and drain plug are installed correctly, fresh oil can be added through the engine’s oil fill opening. A funnel helps prevent spills. It is better to add the recommended amount gradually and confirm the level with the dipstick than to overfill the engine.
Fresh Engine Oil Helps Support Long-Term Engine Performance
Fresh engine oil helps maintain the protective lubrication that moving engine components need. Inside the engine, components operate at high speeds and temperatures. Oil creates a film between these surfaces to reduce direct metal-to-metal contact and limit unnecessary wear.
Over time, engine oil is exposed to heat, combustion byproducts, moisture, and other contaminants. The oil filter captures many particles, but both the oil and filter eventually need replacement. Staying consistent with the recommended maintenance schedule helps ensure that the lubrication system continues doing its job.
Driving conditions can affect how quickly oil deteriorates. Frequent short trips, extended idling, stop-and-go traffic, towing, dusty environments, and extreme temperatures can all place additional demands on the engine. Drivers who regularly operate under severe conditions should review the appropriate maintenance schedule in their owner’s manual.
After completing an oil change, it is important to verify the final oil level. The vehicle should be positioned on level ground and allowed to sit for the amount of time recommended by the manufacturer before checking the dipstick. The oil should generally fall within the indicated operating range rather than above or below it.
Drivers should also start the engine briefly and inspect underneath the vehicle for leaks. Areas around the drain plug and oil filter deserve particular attention. A small leak discovered immediately after an oil change is much easier to address than one that goes unnoticed until the oil level becomes dangerously low.
A dashboard oil pressure warning light should not be ignored either. If the light remains illuminated after starting the engine following an oil change, the engine should be shut off and the cause investigated. Operating an engine without proper oil pressure can quickly result in serious damage.
Keeping a maintenance record is another useful habit. Recording the date, mileage, oil type, oil quantity, and filter used creates a reference for future service. This can be particularly helpful for households with multiple vehicles or drivers who complete their own maintenance regularly.
Having the correct tools makes future oil changes easier as well. An oil filter wrench can help remove filters that are difficult to loosen by hand and can become a useful part of a basic home automotive tool collection. Different filter styles may require different types of wrenches, so selecting a tool that fits the vehicle’s filter is important.
Used engine oil also needs to be handled responsibly. The drained oil should be transferred into a clean, sealable container and taken to an appropriate recycling location. It should never be poured onto the ground, into household drains, or mixed with other fluids.
Conclusion
Changing your engine oil at home can be a beginner-friendly maintenance project when the work is approached carefully. The most important steps are confirming the correct oil and filter, gathering the necessary tools, positioning the vehicle safely, draining the old oil completely, and checking for leaks after the new oil has been added.
Routine oil changes support long-term engine performance by helping maintain proper lubrication and removing oil that has collected contaminants during normal driving. They also give vehicle owners an opportunity to become more familiar with their car and inspect other basic maintenance areas while working.
As experience grows, the process often becomes faster and easier. Keeping the right equipment organized, recording each service, and following vehicle-specific recommendations can turn an oil change into a predictable part of routine ownership. With proper preparation and attention to safety, drivers can confidently complete this essential maintenance task while helping protect their engine for the miles ahead.